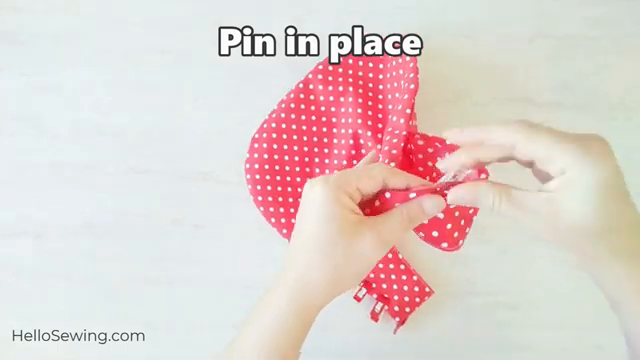
DIY Japanese Knot Bag Tutorial + FREE PDF pattern


Channel: Hello Sewing
Uploaded by Hello Sewing on 20200904
Categories: Howto & Style
Tags: diy japanese knot bag, japanese knot bag, knot bag, japanese bag, knot bag diy, knot bag pattern, knot bag tutorial, knot bag sewing pattern, knot bag free pattern, japanese knot bag tutorial, knot bag template, japanese knot bag pattern and tutorial, japanese knot bag pattern free, japanese knot bag pattern, japanese knot bag diy, japanese bag tutorial, japanese reversible knot bag, diy knot bag, hello sewing, hellosewing, sewing for beginners, diy gifts, gifts to sew
Learn how to make a reversible Japanese knot bag in less than half an hour! This Japanese knot bag tutorial will show you how to make a bag that doesn’t need zippers or buttons to keep your items safe from falling out. Get the pattern here: https://hellosewing.com/japanese-knot-bag-tutorial/ Thanks to the convenient Japanese knot b

This video from the channel Hello Sewing provides a step-by-step tutorial on how to make a DIY Japanese Knot Bag along with a free PDF pattern.

Supplies Needed:

Main fabric: 2/3 yard ([00:26])

Lining fabric: 2/3 yard ([00:26])

Fabric marking pen ([00:26])

Standard sewing supplies (sewing machine, pins/clips,
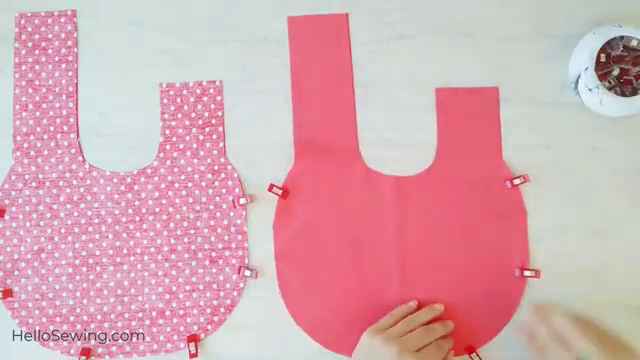
Image for chunk 1

scissors, iron) ([00:26])

Japanese knot bag pattern (linked in the video description) ([00:26])

Step-by-Step Instructions:

Cutting the Fabric:

Cut 2 mirror pieces from your main fabric and 2 mirror pieces from your lining fabric using the pattern ([00:31]).

Preparing the Main Fabric:

Pin your main fabric pi

Image for chunk 2

eces together with right sides facing and edges aligned ([00:34]).

Use a fabric marking pen to mark the base of the handles ([00:44]).

Preparing the Lining:

Repeat the pinning process with your lining fabric pieces ([00:54]) and transfer the handle base markings onto the lining as well ([01:05]).

Sewing the

Image for chunk 3

Main Body & Lining:

Stitch around the outer edges of the main fabric pieces, stopping at your markings ([01:14]).

Repeat the exact same stitching process for the lining fabric ([01:26]).

Clip the curves on both the main fabric and the lining to ensure smooth edges after turning ([01:30], [01:50]).

Assembling

Image for chunk 4

the Bag:

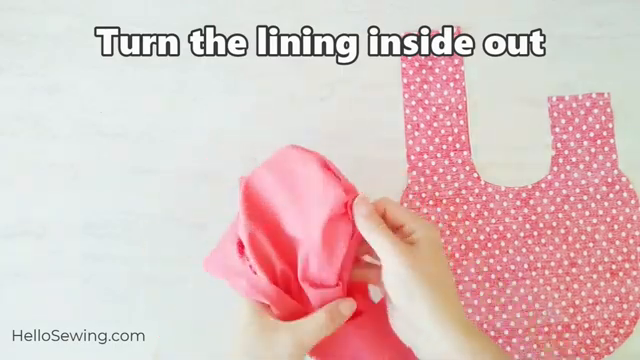
Turn the lining piece inside out ([01:55]).

Insert the lining inside the main bag, ensuring all seams are properly aligned ([02:10], [02:23]).

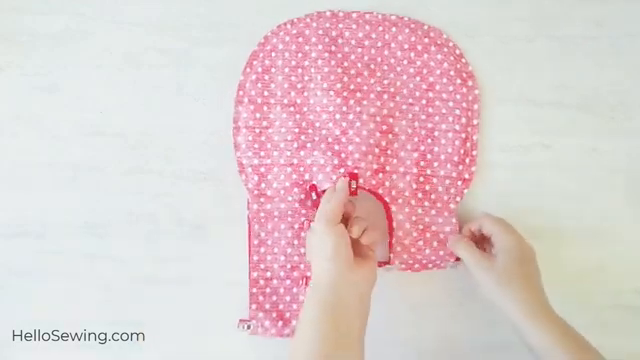
Pin the U-shape of the handles and bag opening in place ([02:34], [05:57]).

Final Stitching & Finishing:

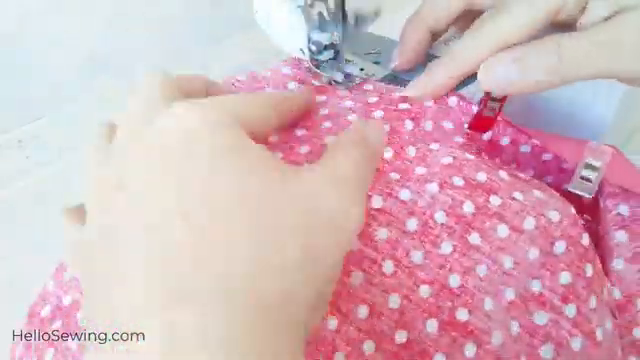
Sew along the U-shape opening ([03:31]).

Clip the c

Image for chunk 5

urves along the U-shape ([04:08]).

Turn the entire Japanese knot bag right side out through the handle opening ([04:30]).

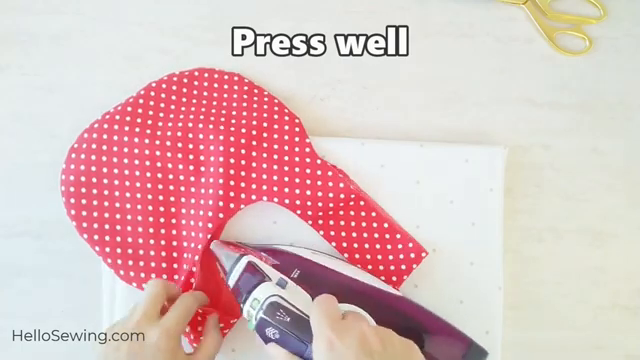
Press the seams thoroughly with an iron ([04:58]) and topstitch around the U-shape ([05:06]).

Fold the raw edges of the handles 3/8 inch toward the wrong side of the fabric, pin them in p

Image for chunk 6

lace ([05:24], [05:57]), and topstitch the handles to finish the edges ([06:33]).

Your reversible Japanese knot bag is now complete and ready to use! ([06:46])

Watch the full tutorial here: https://www.youtube.com/watch?v=O04_-zZHwfM

DIY Japanese Knot Bag Tutorial + FREE PDF pattern

Hello Sewing · 274K views

No image available for chunk 7

Viewer Discussion & Comments

@tautik
Just wanted to let you know that we used your video to teach the knot bag to a group of rural women in a small village in the Central Himalayas of India. Lots of gratitude.
@rollergirl1978
I made this bag the night before a cocktail party. It was so fast and turned out great! I made it out of a metallic vegan leather lined with bemberg. It held everything I needed and wasn’t too big. Thanks for an easy pattern and tutorial!
@roxw7221
I'm making 4 today for my daughter to use to put her bridesmaid gifts in. I've made them before, but watched this video to refresh the directions. I prefer your assembly to the one I used before, looks faster.
@missparadise879
I watched so many of these. And knot (pun intended but honest) one was as straight forward and easy to follow like yours is. I wish I could comment on all the other tutorials to come watch yours but that would be rude lol. I hope you get tons of viewers!! Love this
@LegacyofTruthAlways
Thank you for respecting the Japanese people & referencing the correct name!
@Morena1268
Thank you for the free pattern and great tutorial. I will make this to be my knitting project bag, I love this !❤
@sakarawisedkul2046
Thank you so much for your video I can make this japanese knot bag for my niece wedding
@Diana-mi4ru
Finally an easy instruction.Thank you so much.
@janicerogers2832
This tutorial was easy to follow. I like the consistency of being step by step in the instructions in making this knot bag! Thankyou!
@mercedestercier4878
Thank you very much! I have made this pattern several times and it works perfectly.
@michellegafford4088
Thanks so much! I’m preparing a “Sew Camp” for my grand niece & her Mom. I’ll be using your pattern🌻
@tirasya24
Thank you so much for sharing this tutorial. I just made my own Japanese Knotbag ❤
@queenieirwin8437
Appreciate your video demonstration. Really appreciate you sharing your pattern. I plan to make one for each of my grandchildren and my Quilting sisters for Christmas and their birthdays and fill it with mini gifts.
@PaMMoable
Thank you for your video from Thailand. 🇹🇭❤
@bettydixon6194
Made this today . Thanks for the tutorial. I wish I could leave a pic. My material has butterflies on it. Looks really nice